Learning how to pack picture frames well starts with one simple idea: the frame, glass, artwork surface, backing, corners, and box all need separate protection. A single layer of bubble wrap is not enough for framed photographs, prints, mirrors, or delicate wall decor because impact can travel through the carton and damage the weakest point.
Choose packing materials that protect the surface before adding cushioning
The safest way to pack a framed piece is to build protection in layers. The first layer should protect the surface from abrasion, ink transfer, adhesive, and direct contact with plastic. Only after that surface barrier is in place should you add cushioning and rigid support.
Start on a clean, flat surface with supplies ready before handling the frame. Core materials include acid-free tissue or glassine paper, clean packing paper, low-tack painter’s tape, bubble wrap or foam, corrugated cardboard or foam board, corner protectors, reinforced packing tape, and a heavy-duty picture or mirror box.
Glassine or acid-free tissue is especially important for photographs, artwork, gilded frames, and delicate surfaces. Ordinary newspaper is not a good substitute because ink can transfer onto the item. Guidance on caring for paintings and frames emphasizes avoiding direct contact that could mark or damage fragile surfaces.
Use bubble wrap as cushioning, not as the first surface layer
Bubble wrap belongs outside the paper or glassine layer. For framed objects, place the bubbles outward so the smooth side faces the protected item. Use enough wrap to cushion the frame without compressing decorative molding, bending the backing, or creating pressure against glass.
Rigid protection matters just as much as soft cushioning. Corrugated cardboard or foam board placed on the front and back helps prevent bending, punctures, and pressure against the glass. If a painting or frame does not have enough rear support, a temporary backboard can help stabilize it before boxing.
Wrap framed pieces in the right order to reduce cracks and scratches
A good wrapping sequence reduces the chance of cracked glass, scratched frames, and damaged artwork. The goal is to secure fragile parts without placing tape, plastic, or pressure directly on the finished surface. Work slowly and avoid twisting, rolling, or flexing the piece once wrapping begins.

Before wrapping, remove or secure loose hanging wires, hooks, brackets, and protruding hardware. Store removable hardware separately so it cannot scratch the glass or frame. Then place the frame face-up on a clean, solid packing surface.
If the framed item has glass, apply low-tack painter’s tape in an X or grid pattern across the glass only. This helps hold fragments together if the glass cracks and reduces scattered shards. The Home Depot’s guidance on how to pack pictures and mirrors also recommends upright packing and careful cushioning to limit movement.
Never place tape directly on artwork, matting, gilding, finished frames, or an unglazed painted surface. If the surface is delicate, put glassine or acid-free tissue over the face first and secure only the protective wrapping. Tape should attach to paper, boards, or outer wrapping, not to the frame or art.
Build a protective sandwich around the frame
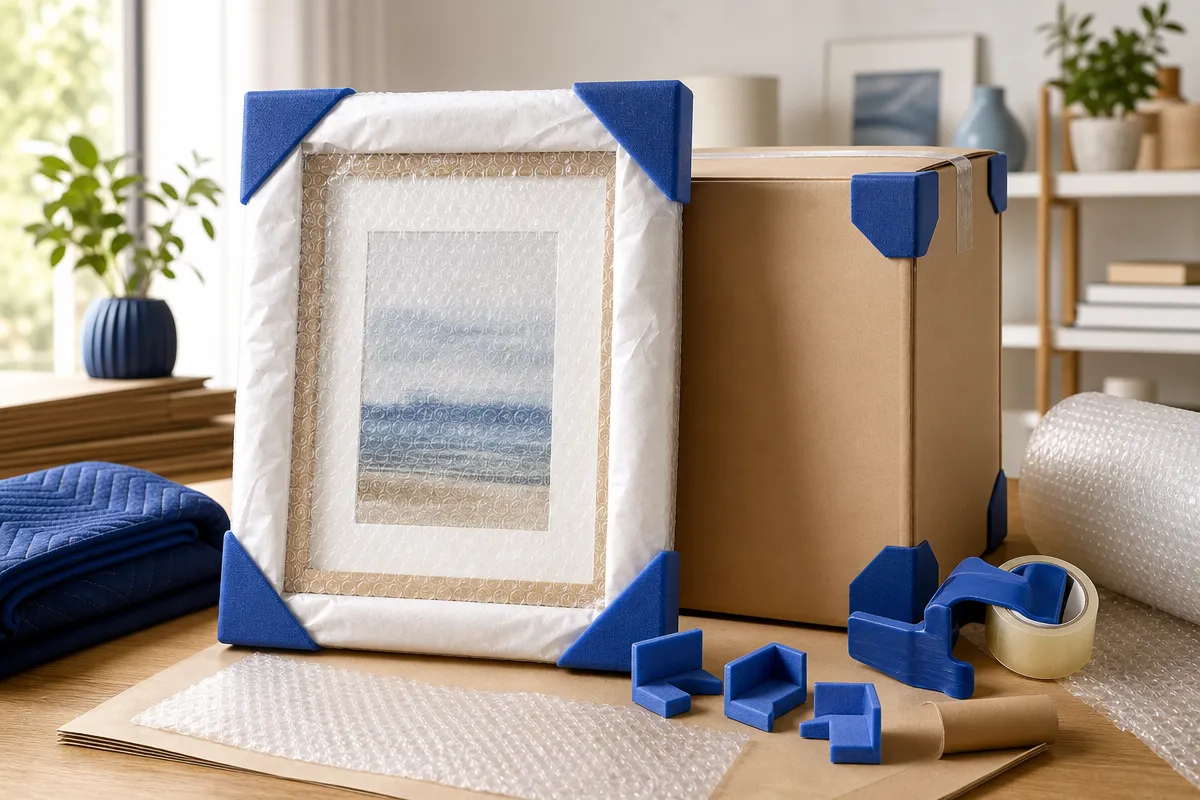
After the first paper or glassine layer, wrap the entire item in clean packing paper, then add bubble wrap or foam around all sides. Cover the front, back, edges, and corners so no glass or frame surface remains exposed.
Next, place corrugated cardboard or foam-board sheets slightly larger than the frame on the front and back. These sheets should create a protective sandwich around the wrapped item rather than pressing directly against the glass or artwork. Bind the layers with tape applied only to the outer boards or wrapping.
Lift the wrapped frame carefully without rolling or twisting it. Rolling a bubble-wrapped frame can transfer force into the frame and glass. If the package bends, shifts, or feels uneven, add more support before moving it to the box.
Reinforce corners and edges before the frame goes into the box
Corners are among the most vulnerable parts of any framed item. They absorb impacts when a carton tips, bumps against furniture, or shifts during handling. Even if the glass stays intact, exposed corners can chip, dent, scratch, or separate at the joints.
Foam or cardboard corner protectors should be placed over all four corners before the final bubble-wrap layer. Secure them with a strap, outer wrap, or tape applied to the protective material, not directly to the frame. For ornate, gilded, or valuable frames, create a larger buffer so straps, boards, and box walls do not touch delicate molding.
After installing corner protection, add rigid sheets that extend beyond the frame perimeter. This overhang helps keep impacts away from the frame edge. It also reduces the chance that a nearby item or the inside wall of the carton will strike the corner directly.
Professional packing is worth considering when frames are oversized, antique, high-value, unusually heavy, or have fragile carved details, loose glass, weak joints, unstable backing, or delicate finishes. D1 Moving and Storage can help determine when standard layered packing is enough and when a framed piece needs specialty packing, added support, or a different handling plan.
A stable wrapped frame should not flex or expose any edge
Before boxing, test the package by lifting it carefully from both sides. It should feel rigid and stable. If the boards move independently, the frame flexes, or a corner remains exposed, add another protective layer.
Many avoidable problems come from rushing this stage. Tape that is too tight can compress molding. Missing boards can allow pressure against glass. Exposed edges can take the full force of a bump that the box alone cannot absorb.
Box framed items snugly and keep them upright during handling
The right box should be slightly larger than the fully wrapped frame. A heavy-duty picture box, mirror box, telescope box, or specialty art box is preferable to an oversized carton. Too much empty space allows the framed item to accelerate inside the box and strike the carton wall during handling.
Before inserting the frame, line the bottom of the box with crumpled packing paper or cushioning. Place the wrapped frame inside, then fill every side with paper, foam, or other cushioning until the item cannot shift. The fit should be snug, but not so tight that the packing bows the frame or stresses the glass.
For higher-value or unusually fragile pieces, double-boxing may be appropriate. The inner package is surrounded with cushioning inside a larger outer box, with approximately two inches of protective material between the inner and outer box where practical. Moving.com notes that art, antiques, and valuables may need extra care beyond ordinary household packing.
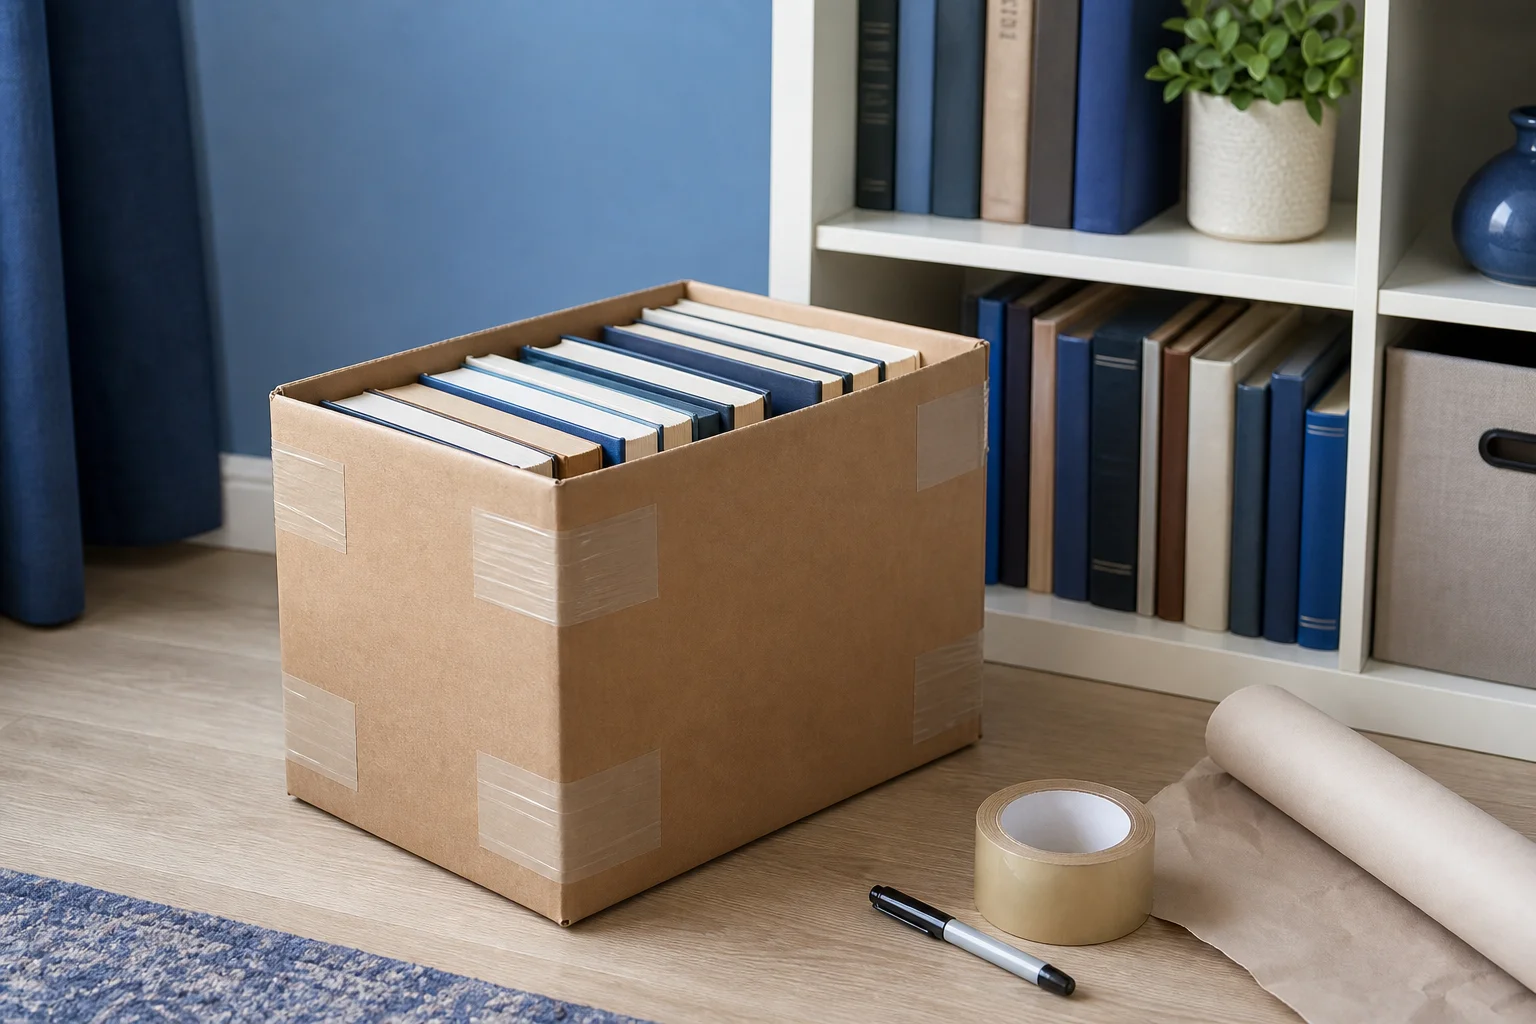
Framed pieces should be packed vertically on edge rather than flat, especially when more than one item shares a carton. Smaller frames may be grouped together if the box remains manageable. Common moving guidance places the upper weight range at approximately 40 to 50 pounds for several small or medium pieces.
Label clearly and avoid the common causes of frame damage
Once packed, seal the carton with reinforced tape across the main seam and along the flaps. Reinforce vulnerable box corners, then mark the carton “Fragile,” “Glass,” and “This Side Up.” Carry and load it upright, prevent tipping, and do not stack heavy items on top.
The most common damage risks are also the easiest to avoid. They include tape placed directly on finishes, bubble wrap touching artwork without a paper barrier, insufficient corner protection, missing rigid boards, loose packing, overfilled cartons, and transport with framed glass lying flat beneath other cargo.
DIY packing is usually best for ordinary, replaceable framed photographs, prints, and modest-size wall decor when the frame and glass are intact and the right materials are available. Colorado Art Services warns that direct tape and poor wrapping can create surface damage, so delicate or irreplaceable pieces deserve more caution.
If you are preparing framed pictures, mirrors, artwork, or wall decor for a move and want help choosing the right packing approach, D1 Moving and Storage can assist with packing services, moving supplies, local moving, long distance moving, storage, and related moving support. Call us today at (804) 380-7224 to plan your move with the right protection for your framed items.